



A small laundry room can look spacious when everything is closed and still become difficult to use once appliance doors, cabinets and drying laundry enter the space. A useful layout should therefore be planned around the room in use, not just an empty floor plan.
Start by defining what needs to happen there. You need access to the washing machine, somewhere for wet clothes to dry, storage for laundry products and enough room to move through the space. A tumble dryer, basin or folding surface may also be useful, but each one competes for a limited amount of room.
The planning order is straightforward: measure the available space, map your laundry workflow, position the appliances and assess the walls and ceiling. You can then decide where clothes will dry and whether a sink or additional storage earns its place.
Most importantly, measure the room as it will be used, not only as it looks when everything is closed and stored.
Start With a Room Brief and Complete Measurements
Before choosing cabinets or a clothes airer, write down what the room needs to do.
A household that machine-dries most loads will have different priorities from one that regularly air-dries shirts, towels and bedding. A laundry cupboard may need to hide everything behind doors, while a covered balcony may also need to preserve access to windows.
List the functions you actually need:
- Collecting and sorting dirty laundry
- Washing and transferring a load
- Tumble drying or air-drying
- Hand-washing or soaking selected items
- Storing detergent, pegs, hangers and cleaning products
- Folding clothes or moving them elsewhere to fold
- Storing baskets, an ironing board or cleaning tools
Measure the room around those jobs. Record the width, depth and ceiling height, but do not stop there. Mark the positions of doors, windows, sockets, water connections, waste pipes, vents, lights and access panels.
Include anything that changes position during use:
- Appliance doors when fully open
- Cabinet doors and drawers
- Windows when open
- Wall-mounted airers when unfolded
- Ceiling airers when lowered
- Laundry hanging below the drying structure
Use the manufacturers’ dimensions and installation instructions for the appliances you intend to buy. The outer width of a washing machine or dryer is only one part of the calculation. Connections, ventilation, door movement and maintenance access may all require additional room.
If you are considering fixed wall or ceiling equipment, identify the mounting surface early. An area that looks empty may not provide suitable structural support. Renters should also check whether drilling or permanent installation is permitted.
Plan the Laundry Workflow and Appliance Position
Imagine one complete laundry cycle. Where does dirty laundry wait? Can you load the washing machine without moving a basket out of the doorway? Where do wet clothes go when the cycle ends? Can you reach the drying area without blocking a cabinet?
Sort → wash → transfer → dry → fold → put away
The shortest route is not always the only consideration, but unnecessary backtracking can make a compact room awkward. Keep the washing machine, drying area and any basin logically connected while preserving access to doors, windows and storage.
Side-by-Side or Stacked Appliances?
Side-by-side appliances require more wall width, but they may support a continuous worktop for sorting or folding.
A vertical stack can release width for a basin, cupboard or tall storage unit. Stacking should only be planned when the appliances are compatible and the manufacturer’s stacking equipment, ventilation and clearance instructions can be followed.
A washer-dryer combination may suit a home that cannot accommodate two separate machines. It reduces the appliance footprint, although its capacity and wash-to-dry routine may differ from using separate appliances.
Whichever arrangement you choose, check:
- Access to the controls and detergent drawer
- The full swing of appliance and cabinet doors
- Space for hoses, waste connections and power
- Dryer ventilation or drainage requirements
- Whether the appliances can be removed for servicing
- A clear loading and unloading area
The UK-focused Which? utility-room planning guide provides further guidance on plumbing, dryer ventilation and sink placement. Consult qualified tradespeople when moving water, drainage or electrical services.
Treat the Walls and Ceiling as Part of the Floor Plan
In a small laundry room, an empty wall or ceiling is not automatically unused space. It may already be needed for cabinet doors, lighting, ventilation, appliance access or hanging laundry.
Map the room vertically as well as horizontally. Everyday detergent and stain-treatment products should be easy to reach. Refills and occasional items can usually sit higher. A shallow cupboard may preserve more circulation than a deep unit, while a tall cabinet can hold an ironing board or cleaning tools that do not fit conveniently below a worktop.
Taking every cupboard to the ceiling is not always the right choice. High storage needs safe access, and upper cabinets may compete with a ceiling clothes airer, window opening, lighting or ventilation. Cabinet doors must also be assessed when open.
The same rule applies to wall-mounted drying equipment. A rack that stores neatly against a wall still projects into the room when opened and loaded. Both positions belong on the plan.
Once the layout and installation decisions are settled, EaseRack’s guide to organising a small laundry area by function can help with everyday storage and routines.
Choose Where Wet Laundry Will Air-Dry
Drying space should be planned before storage occupies every available surface. Ask where a wet load will go as soon as it leaves the washing machine and how the room will function while clothes are hanging.
The appropriate method depends on your floor, wall and ceiling space, whether permanent installation is possible and what you normally dry.
| Drying format | May suit | Main advantage | Main trade-off or check |
|---|---|---|---|
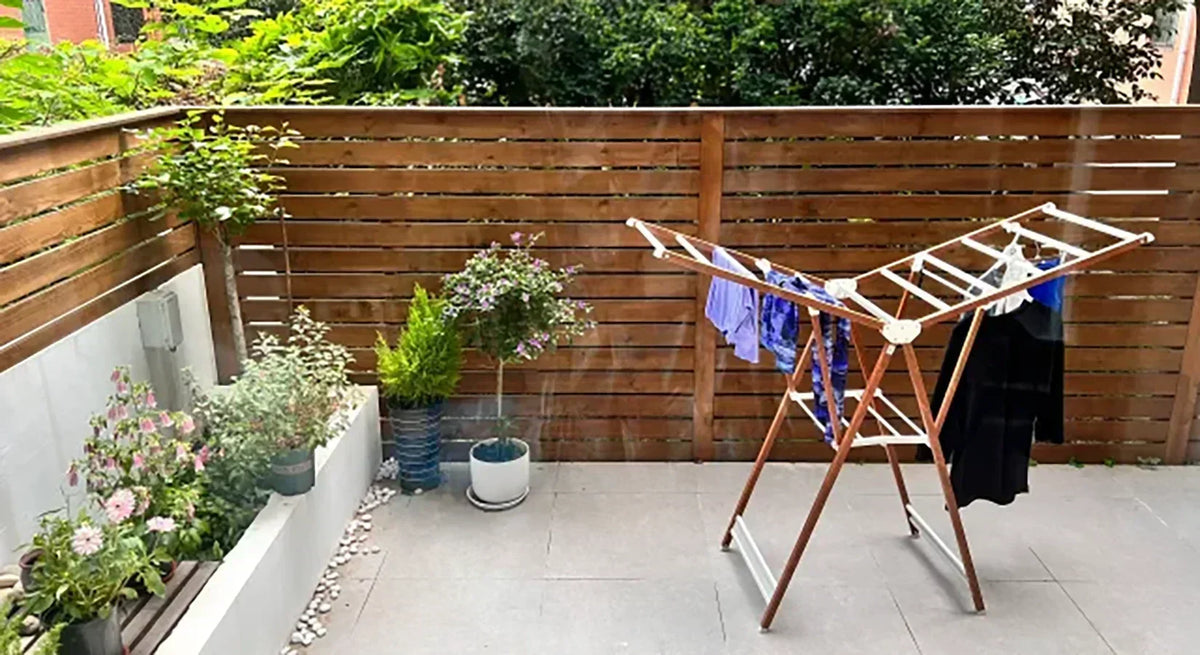
| Freestanding clothes airer | Renters and rooms with sufficient floor space | Portable and normally needs no permanent fixing | Occupies floor space when open and needs a storage place afterwards |
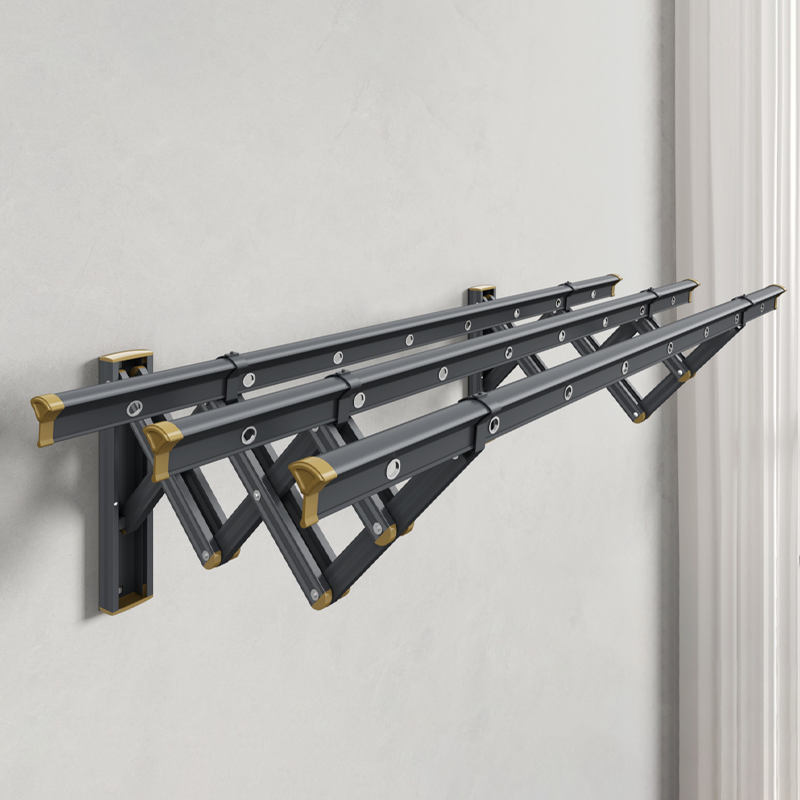
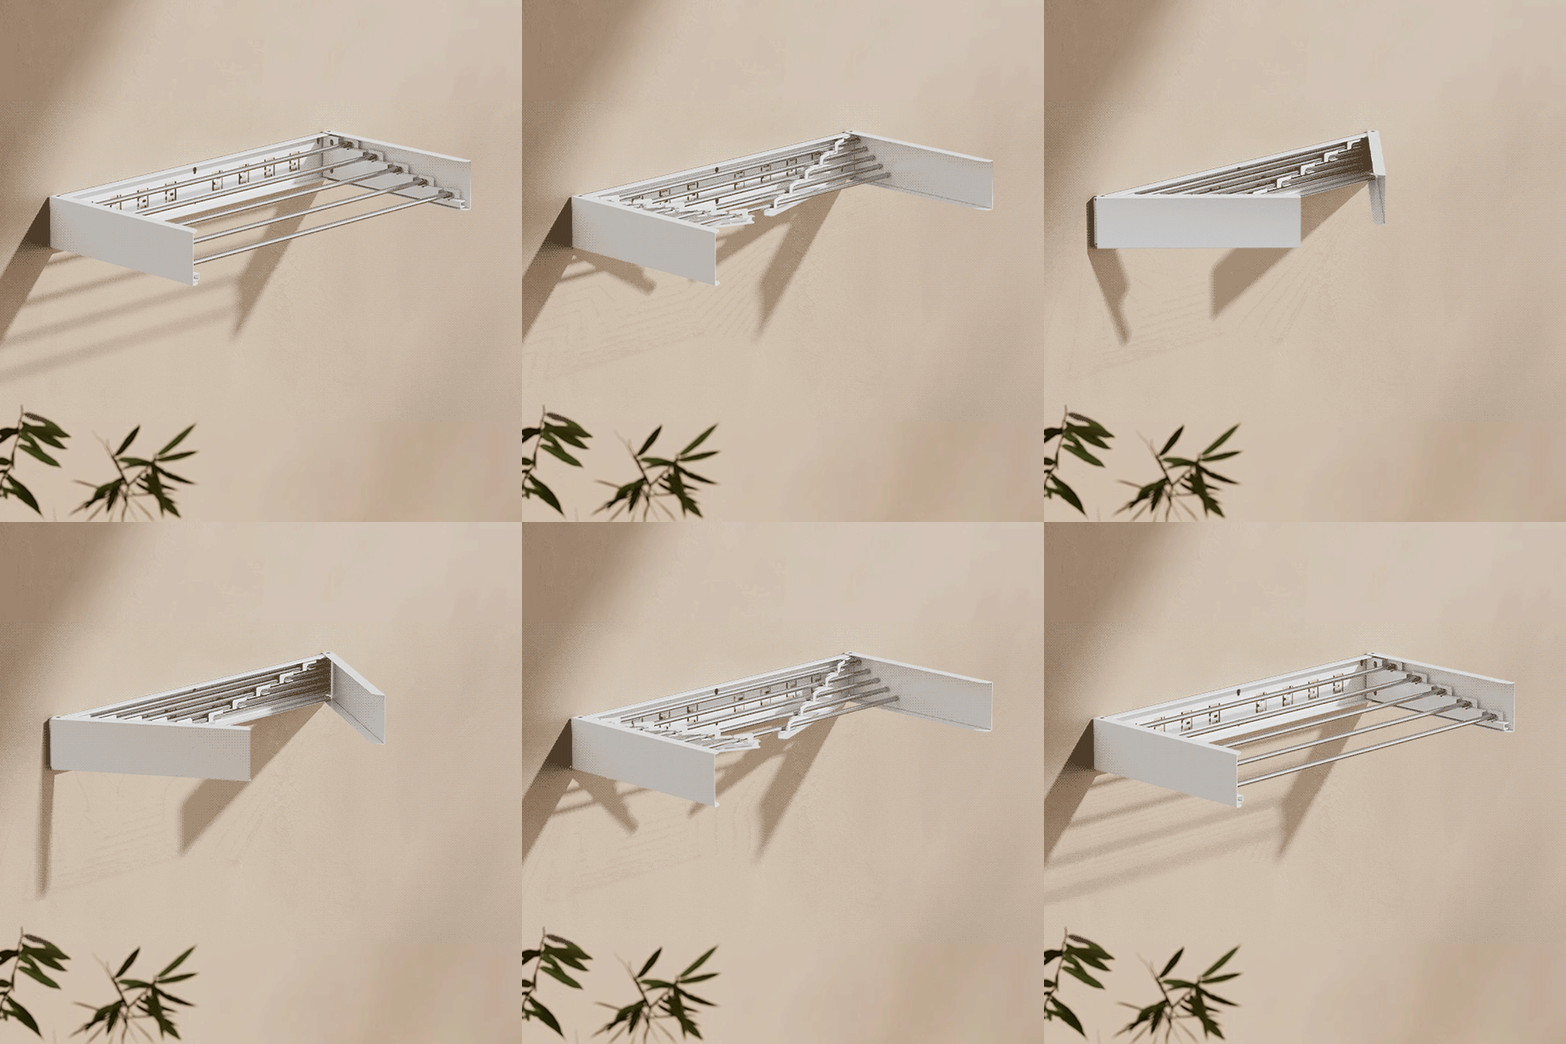
| Wall-mounted clothes airer | Rooms with a suitable open wall | Provides drying space without a standing frame | Check wall structure, open projection, windows, doors and appliances |
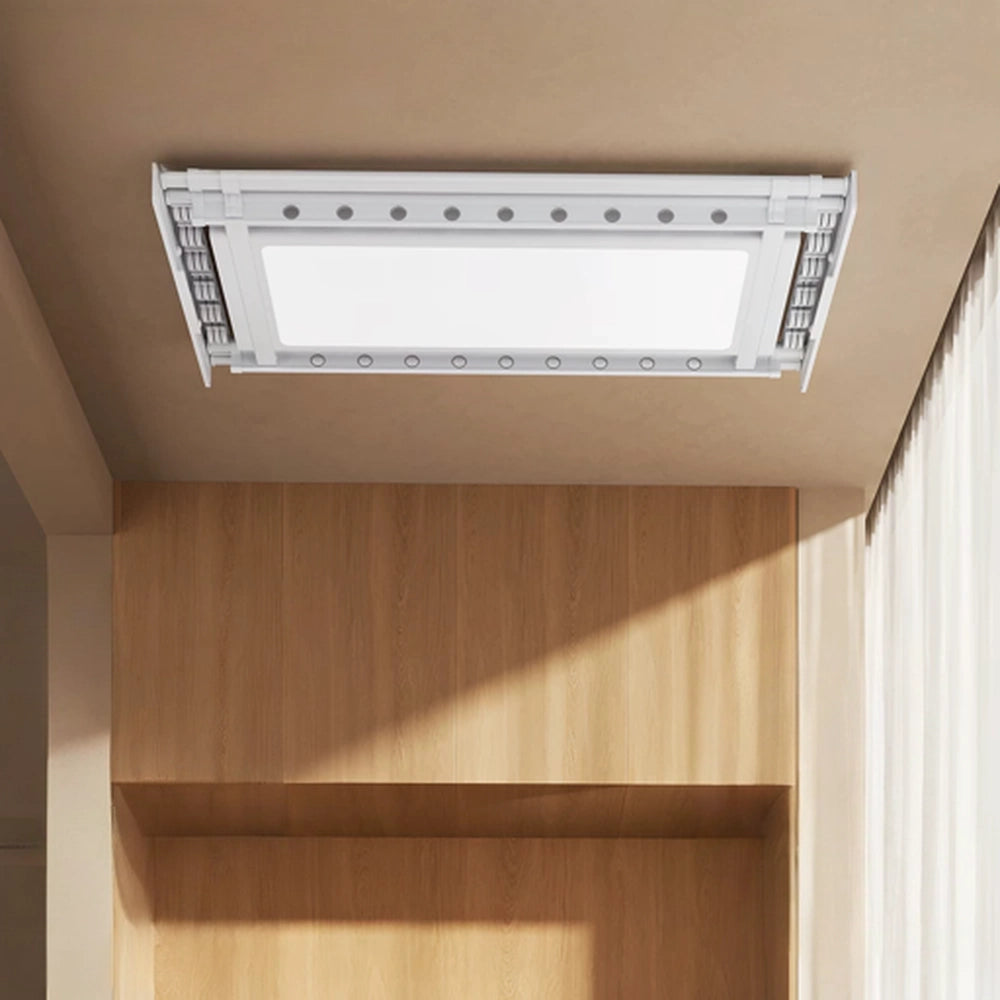
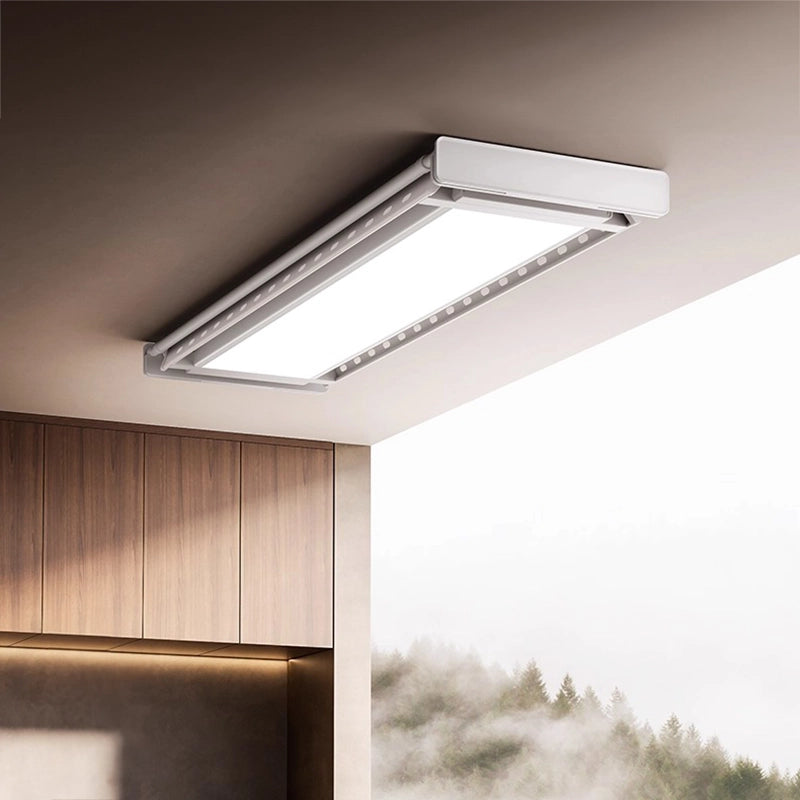
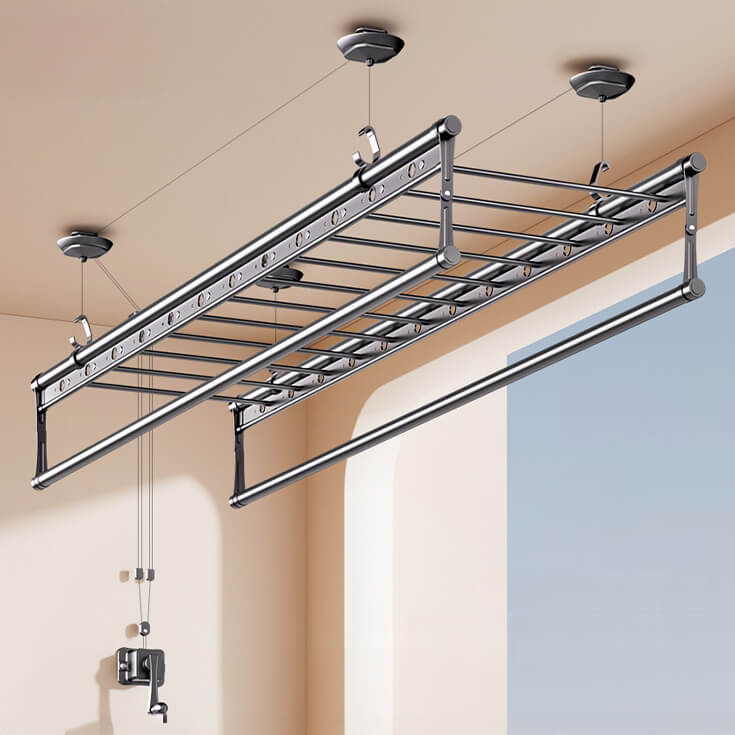
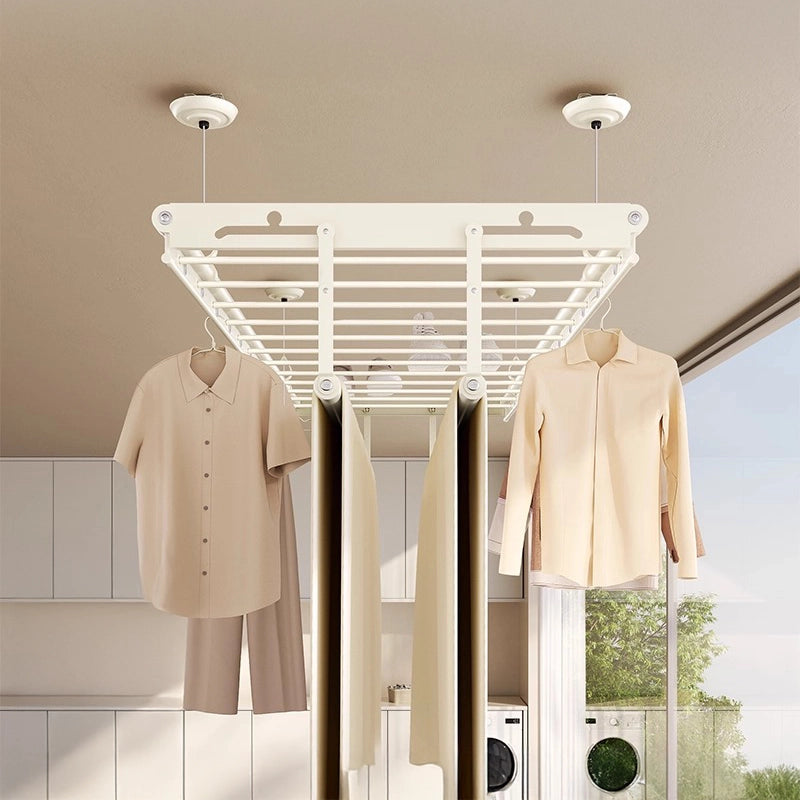
| Ceiling clothes airer | Rooms with limited floor and wall space and a suitable ceiling | Keeps the drying structure off the floor and uses overhead space | Requires structural support, suitable fixings and raised and lowered clearance |
A freestanding airer remains practical when portability matters or drilling is not allowed. A wall-mounted clothes airer may suit a room with a strong, unobstructed wall.
A ceiling clothes airer may be worth considering when the floor and walls already have other jobs. Its suitability still depends on the ceiling structure, fixing method and operating clearance.
Traditional pulley airers also appear in Ideal Home’s narrow utility-room examples. The useful principle is not that one method is preferable in every room. Drying needs a defined zone rather than being added after the rest of the layout has been fixed.
Real-Space Example: Planning Laundry, Storage and Drying Vertically
This compact balcony laundry area shows why vertical planning matters. The washing machine and dryer are stacked on one side, while a basin, overhead cabinets and an EaseRack electric ceiling clothes airer share the remaining space.
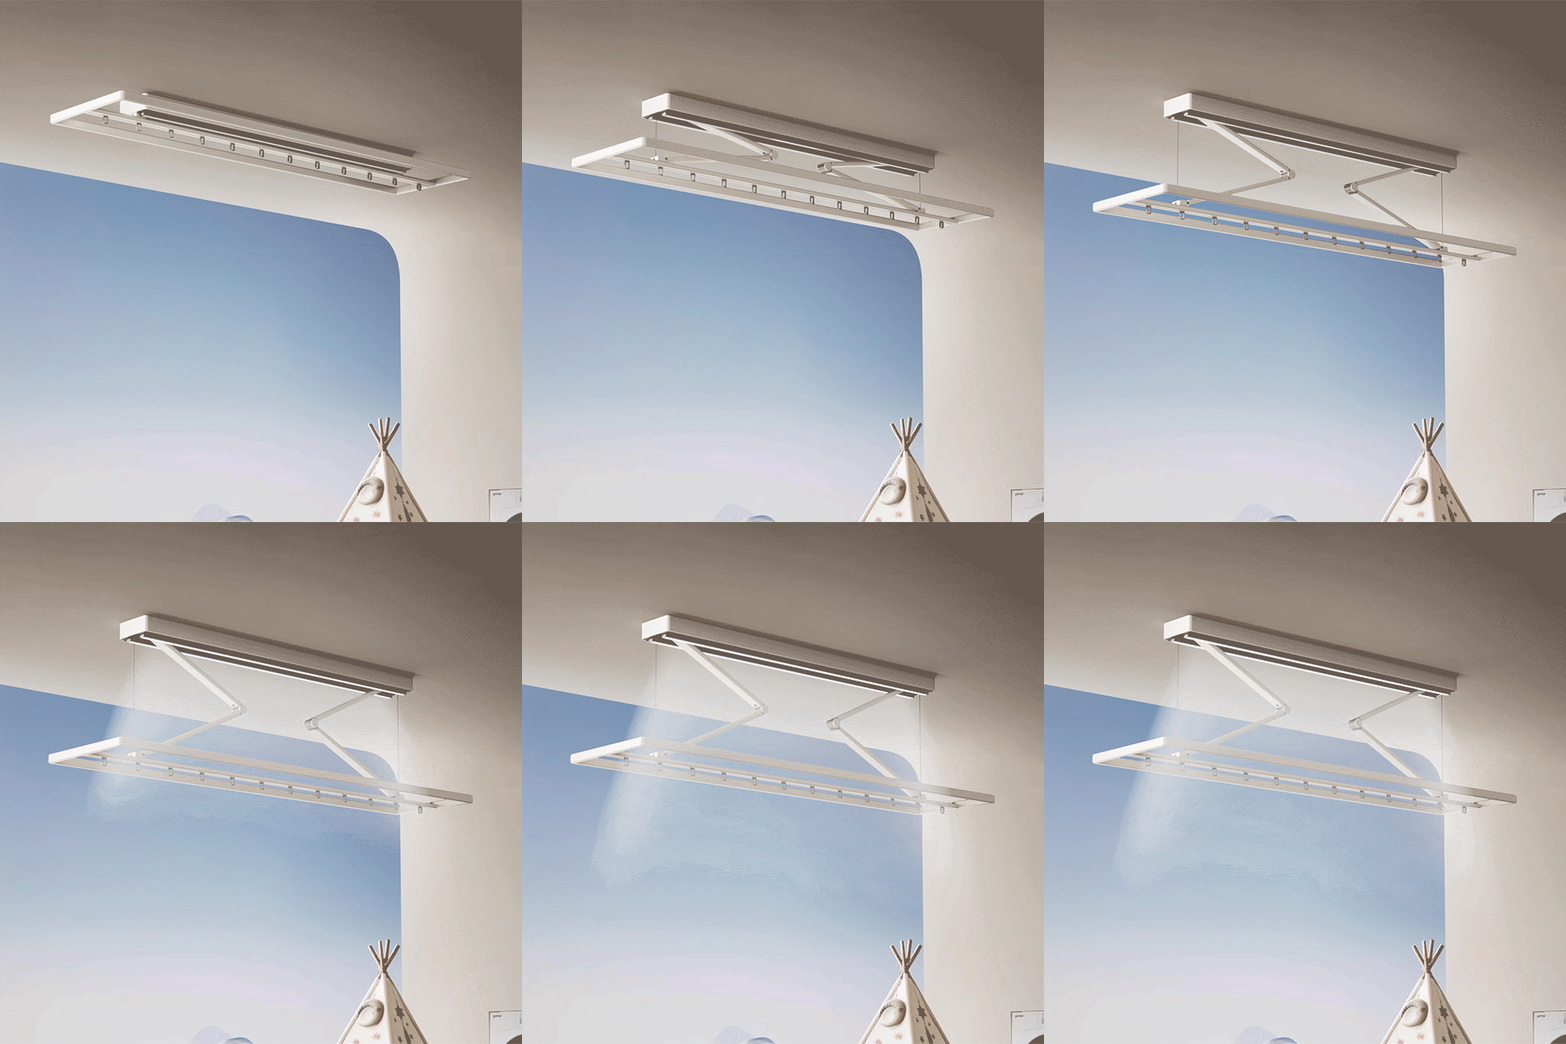
The airer has integrated lighting and two independently controlled drying rails. The photographs show it in two operating states: raised near the ceiling and lowered with a large textile hanging from one rail.
What This Layout Demonstrates
The appliance stack uses the room’s height rather than taking additional wall width. The far wall combines a basin with fitted cabinetry, while the drying system occupies the ceiling zone.
This does not mean the ceiling was simply “left over”. The airer, lighting, cabinets, windows and hanging laundry all needed to be considered as parts of the same three-dimensional layout.

With the airer raised, the appliances, storage, basin and ceiling zone remain easy to understand as one compact layout.
The raised photograph answers an important planning question: what does the room look like when the airer is stored close to the ceiling?
It shows the appliance stack, cabinetry, basin and ceiling system together.

The lowered photograph answers a different question: how much space does the drying area occupy when it is being used?
Once one rail is lowered and a large textile is hanging, the active drying zone extends further into the room. The second rail remains raised, illustrating how the two sides can be operated independently.
This is why a ceiling airer should be measured in its lowered and loaded position, not only when raised close to the ceiling.
The layout is one example rather than a template: room dimensions, operating clearances, ceiling structure and fixing requirements still need to be checked for each installation.
Check the Active Drying Position
Before buying a fixed airer, check:
- The airer’s overall dimensions
- Its raised and fully lowered positions
- The intended loading height
- The likely length of hanging garments
- The additional drop created by sheets or bedding
- Appliance, cupboard and window movement
- Nearby lights, vents, curtains and doors
- The position of controls, switches, cords or cranks
- The walking route while laundry is hanging
Ceiling-mounted systems require a suitable structure, appropriate fixings and sufficient installation space. If the mounting surface or method is uncertain, ask a qualified installer to assess it.
Stay within the product’s rated load and follow its installation requirements, including suitable structural fixings and evenly distributed loading.
Drying performance may vary with airflow, humidity, temperature, fabric type, fabric thickness and laundry spacing. For balconies, follow the product guidance and use indoor, covered or sheltered installation wording rather than assuming that the airer can remain exposed to all weather.
Decide Whether a Sink and Additional Storage Earn Their Space
A sink can be useful for hand-washing garments, soaking stained items, rinsing cleaning tools and handling other wet household tasks. It can also consume wall width, worktop and under-counter storage, so the decision should be based on how often you will use it.
Ask whether an existing nearby sink already serves these tasks. If it does, the small utility room may benefit more from storage, a folding surface or wider appliance access.
If a dedicated sink would be used regularly, plan its water supply, waste, splash area and surrounding work surface at the same time as the washing machine.
If you are comparing sink materials and configurations, SANIKB’s guide to utility sinks for laundry rooms provides additional detail on fireclay options.
Once the sink decision is settled, give each remaining item a place. Keep daily products close to the washing machine, move refills higher and allow for baskets, pegs, hangers, garment bags and cleaning tools. Where relevant, household chemicals should be stored securely.
A folding surface is useful only if it remains accessible during the normal laundry routine. A worktop that is permanently covered with supplies or baskets does not contribute much to the layout.
Plan Ventilation, Lighting and the Final Checks
Washing, indoor air-drying and some dryer arrangements introduce moisture or heat. A window can support ventilation, but its presence does not prove that airflow is adequate in every season or with every load.
Check the room’s ventilation strategy, keep vents clear and follow the dryer manufacturer’s requirements. Depending on the property, appropriate measures may include opening windows, mechanical extraction or a dehumidifier.
Avoid packing wet garments tightly together or hanging them in a blocked corner. Drying performance is affected by the air around the laundry, not simply by the type of airer used.
Lighting should support loading, stain treatment, basin use and garment checks. If a ceiling airer is planned, assess whether its frame or hanging laundry could obstruct an existing fitting.
Integrated lighting, as seen in the real installation, can combine two ceiling functions. Its suitability and coverage still depend on the product, room and mounting position.
Before approving the layout, check:
- Room width, depth and ceiling height
- Appliance specifications and required clearances
- Plumbing, waste, power and ventilation
- Open appliance doors, drawers and cabinet fronts
- Loading and maintenance access
- The stored and active footprint of the chosen airer
- Garment and bedding drop
- Wall or ceiling structure and fixing requirements
- Sink use compared with lost storage or worktop
- Safe and accessible storage
- Airflow, lighting and circulation
- Landlord, building or installer requirements
Small Laundry or Utility Room Planning FAQ
What Is the Most Efficient Layout for a Small Utility Room?
It is the layout that keeps the laundry sequence clear: sort, wash, transfer, dry and remove. Place appliances near the required services, preserve loading and maintenance access, and avoid putting baskets or an open airer in the main route.
A single-wall, stacked or cupboard layout may work depending on the room. The most visually compact arrangement is not necessarily the easiest one to use.
Is Stacking a Washer and Dryer a Good Idea in a Small Room?
Stacking can save wall width and release space for a basin, cupboard or worktop. It is only appropriate when the appliance manufacturers support the configuration and the required stacking equipment, ventilation, access and clearances are provided.
Is a Utility Sink Necessary in a Laundry Room?
No. It may be worthwhile if you regularly hand-wash, soak stained items or rinse cleaning tools. If a suitable sink is already nearby, storage, worktop or circulation may be a better use of the available width.
Can a Ceiling Clothes Airer Be Installed in Any Utility Room?
No. Suitability depends on the ceiling structure, fixing method, installation space, operating height and clearance around lights, windows, cabinets, appliances and walkways.
Seek professional assessment if the mounting surface or fixing method is uncertain.
How Much Clearance Should I Leave for Air-Drying Clothes?
There is no single clearance that fits every airer or room. Start with the airer’s dimensions and lowered position, then add the likely garment length or bedding drop.
Check that loaded laundry will not obstruct appliance doors, cupboards, windows, lighting, ventilation or the walking route. Measure the active, loaded arrangement rather than relying on the stored position.
Planning a small laundry or utility room is less about fitting in as many features as possible and more about deciding which functions deserve the available floor, wall and ceiling space. Measure the room in three dimensions, map the laundry workflow and test every appliance, cabinet and airer in its active position.
Freestanding, wall-mounted and ceiling clothes airers can each suit different spaces and routines. Once you have the measurements, use the EaseRack drying-rack selector to compare options for your available floor, wall and ceiling space.