

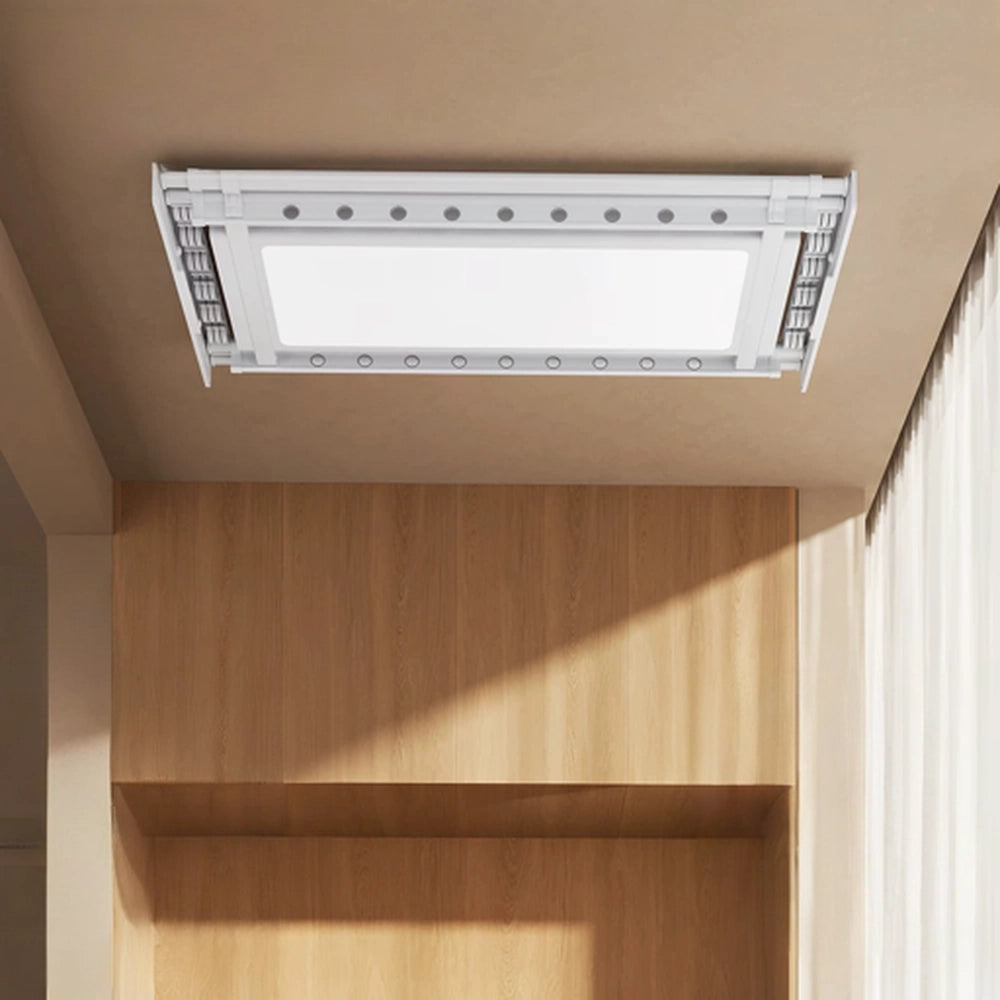
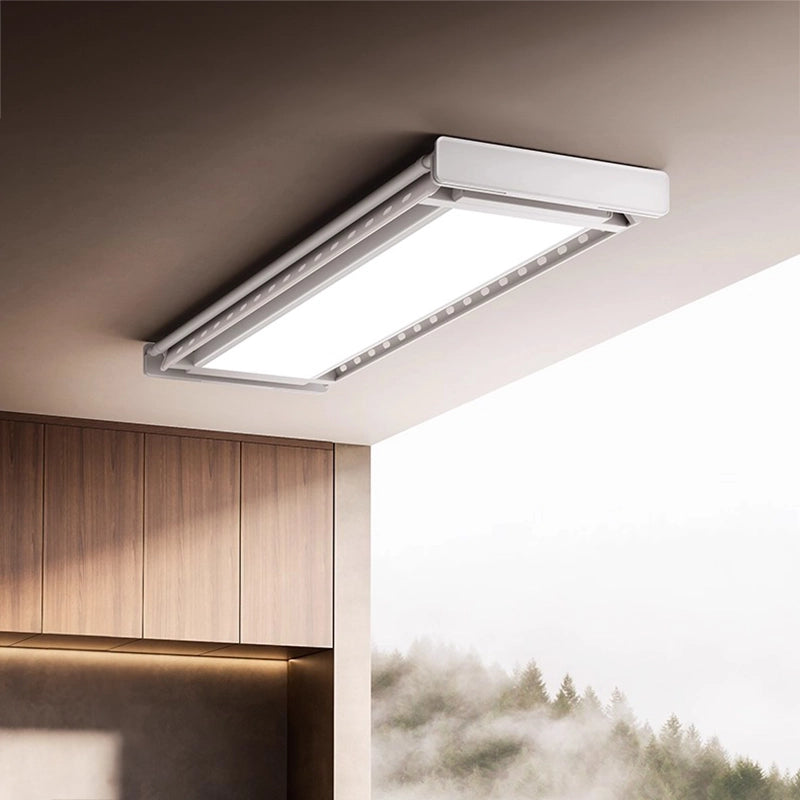

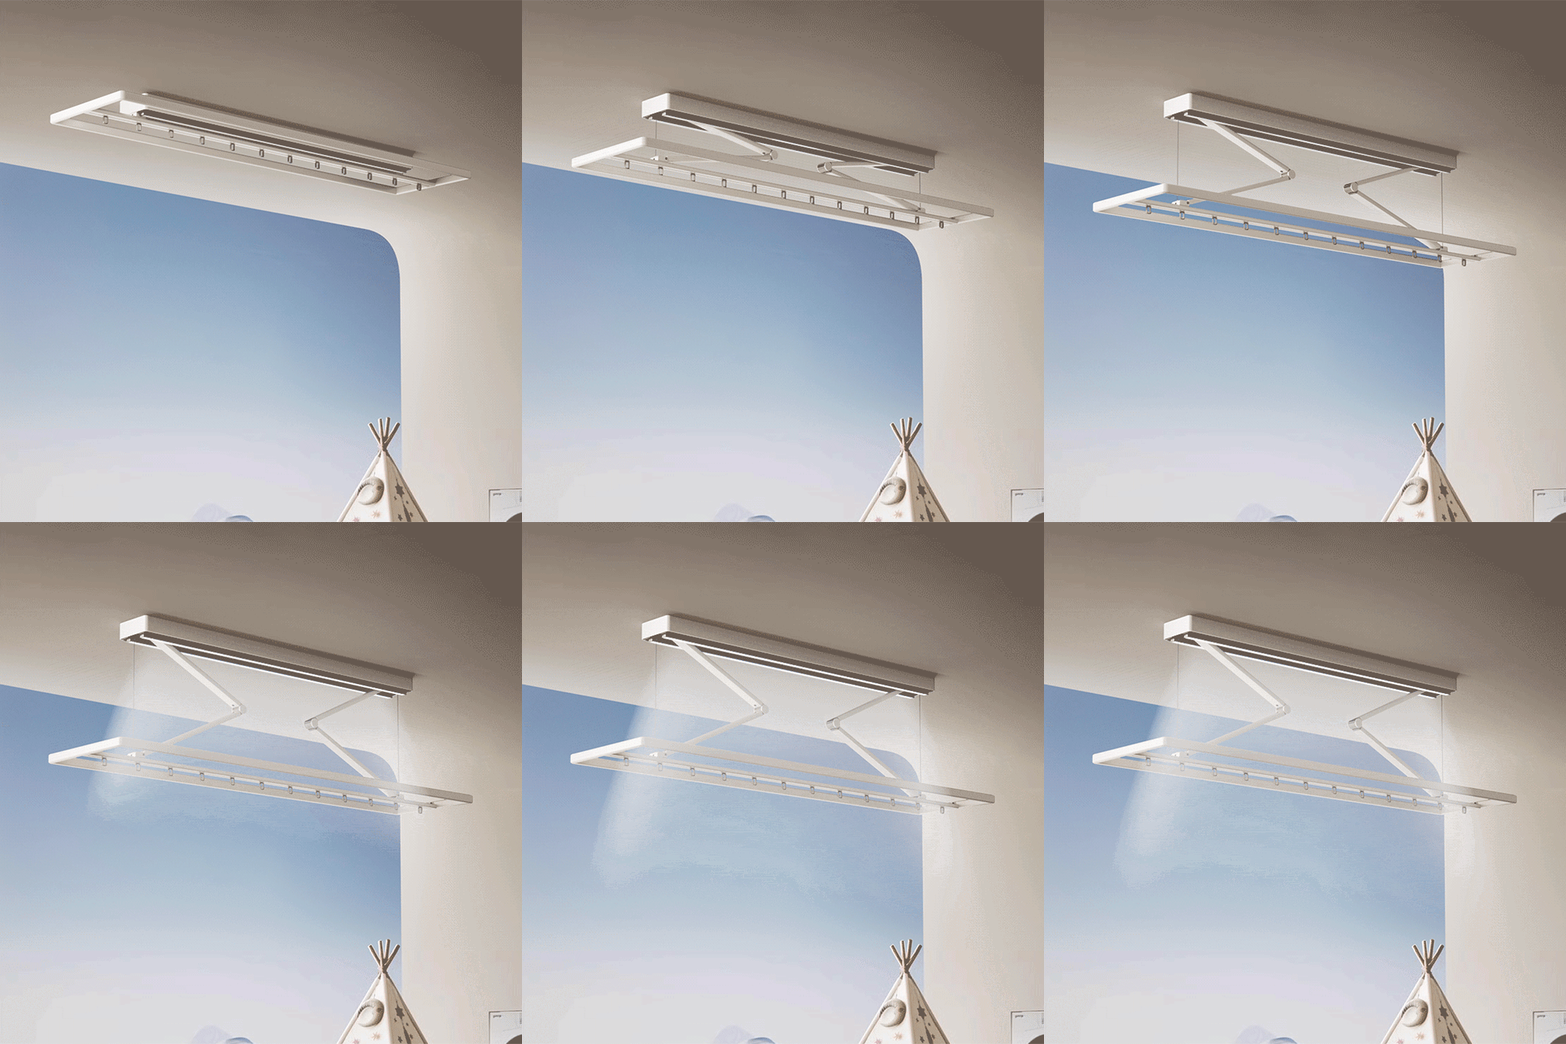
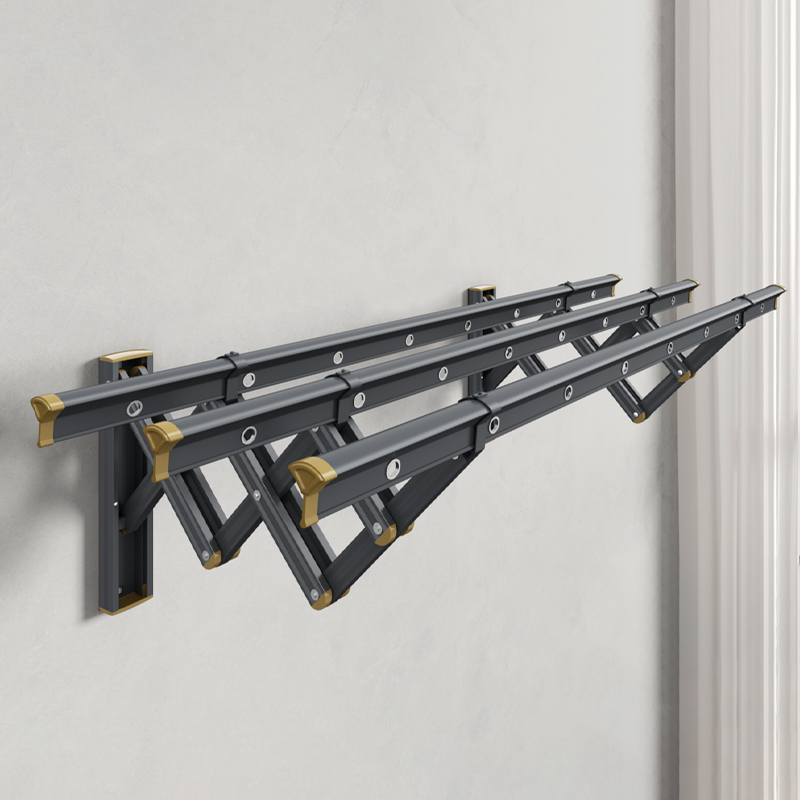

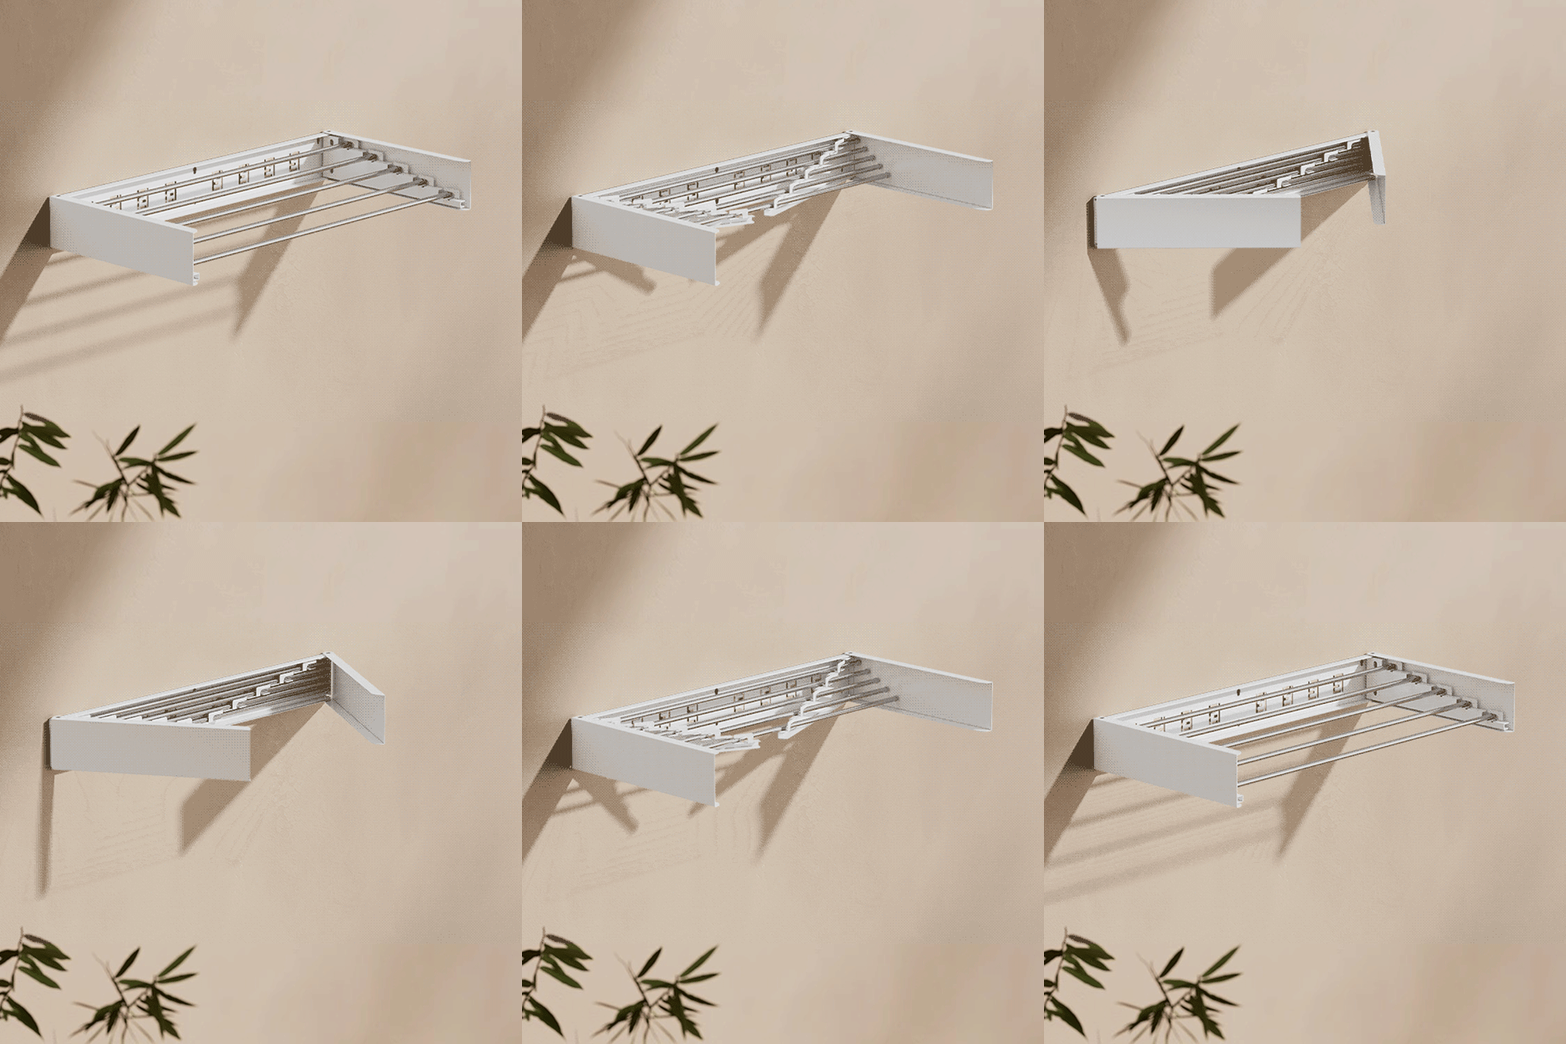
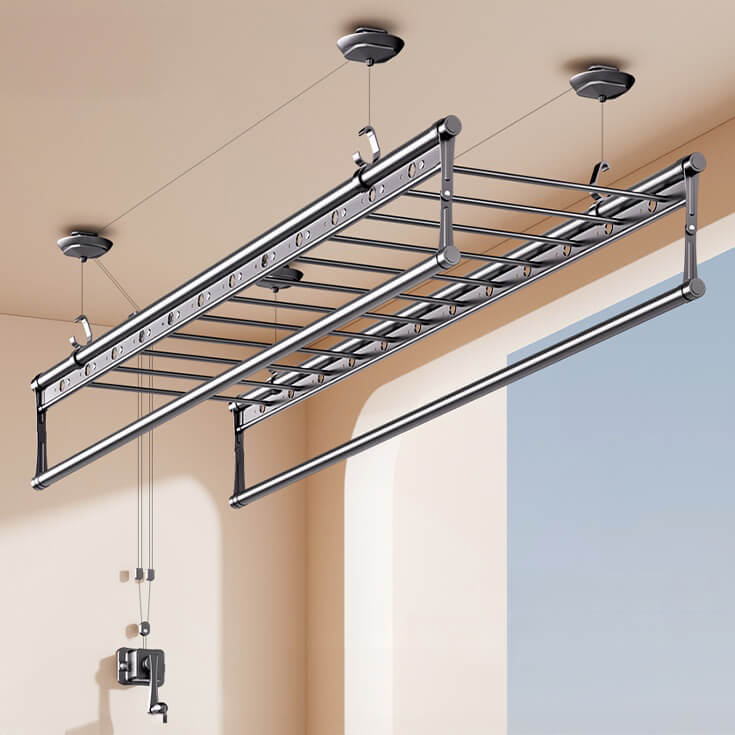
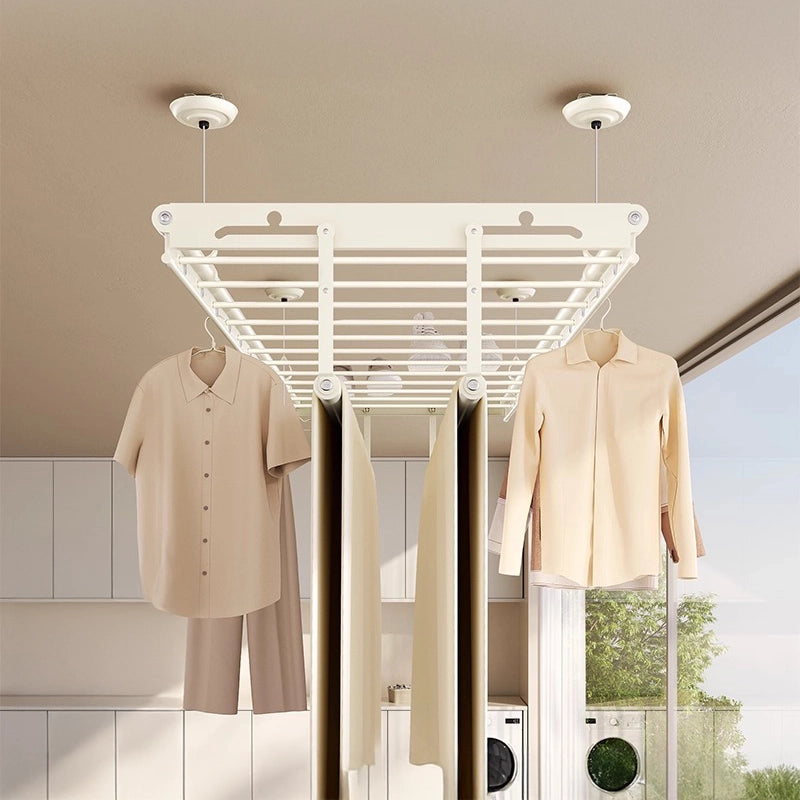
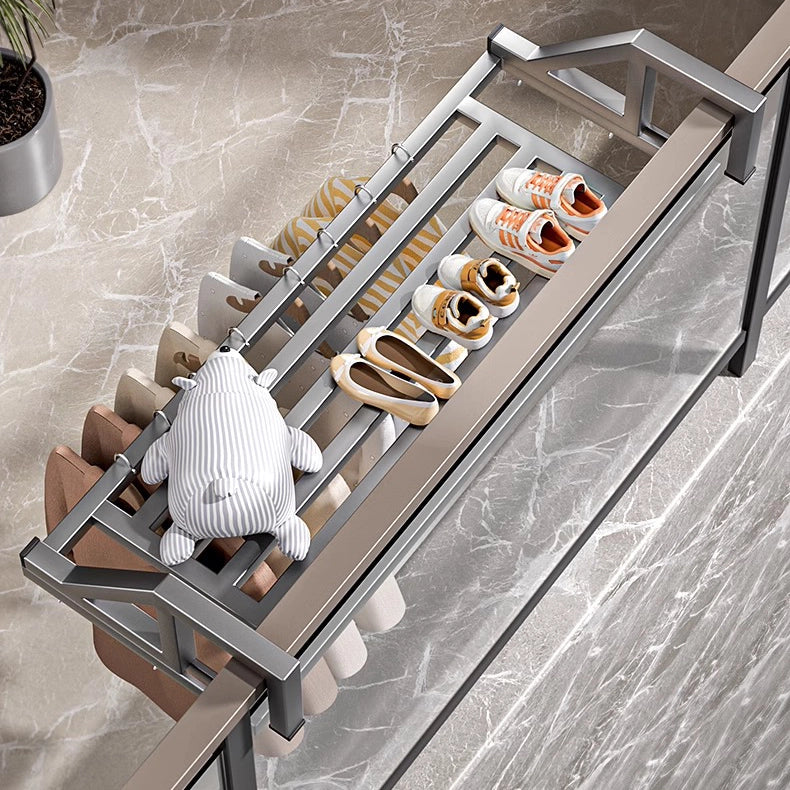
A manual ceiling clothes airer can help you recover floor space, but the layout you choose affects how you use it every washing day. A narrow rail for clothes on hangers feels different from a frame with crossbars, while sheets and duvet covers need room below the rack as well as along it.
This manual ceiling clothes airer comparison covers four EaseRack layouts: Single-Rod, Multi-Rod, Square-Rod and Extra-Wide. They all use a wall-mounted hand crank to raise and lower the complete airer without electricity. The useful differences are the arrangement of the hanging areas, the space needed across the rack and the laundry each layout helps you organise.
Start with the room measurements, then consider your busiest laundry day. More rods or more hanger holes will only help if the loaded rack fits comfortably around the windows, cupboards and appliances you still need to use.
- Single-Rod: investigate first for a narrow installation area and clothes you usually dry on hangers.
- Multi-Rod: a starting point for mixed everyday loads using hanger holes, crossbars and lower rails.
- Square-Rod: compare with Multi-Rod when dedicated hanger positions matter more to your routine.
- Extra-Wide: consider when you have more clear width and need wider main-rod separation with adjustable lower-rod spacing.
Compare all four manual ceiling-airer layouts
The table keeps rod length separate from rod arrangement. Hole and crossbar counts follow the length options in the order shown; they describe available positions, not a tested number of garments in one load.
| Model | Rod length | Hanger holes / crossbars | Separate lower rails |
|---|---|---|---|
| Single-Rod | 1.5 / 2.0 / 2.4 m | 28 / 40 / 48 holes; no crossbar frame | 1 |
| Multi-Rod | 1.5 / 2.0 / 2.4 m | 16 / 24 / 30 holes; 8 / 12 / 15 crossbars | 2, foldable |
| Square-Rod | 1.5 / 2.0 / 2.4 m | 30 / 46 / 58 holes; 7 / 11 / 14 crossbars | 2 |
| Extra-Wide | 2.0 / 2.4 m | 24 / 30 holes; 12 / 15 crossbars | 2, fold-up; approximately 11–36 cm spacing positions |
The space measurements below help you shortlist layouts before comparing hanger positions. They are installation references, not confirmation that a particular ceiling can support the airer.
| Model | Main-rod spacing | Recommended clear width | Total rated load* |
|---|---|---|---|
| Single-Rod | Not applicable: one main rod | 50 cm+ clear balcony width | Up to 25 kg |
| Multi-Rod | Approx. 49 cm | Approx. 95 cm+ | Up to 50 kg |
| Square-Rod | Approx. 49 cm | Approx. 95 cm+ | Up to 50 kg |
| Extra-Wide | Approx. 62 cm | Approx. 110 cm+ | Up to 50 kg |
*Rated load applies to the complete airer and depends on correct installation, suitable structural fixings, the mounting surface and evenly distributed weight. Clear-width references must be checked with rod length and loaded working space.


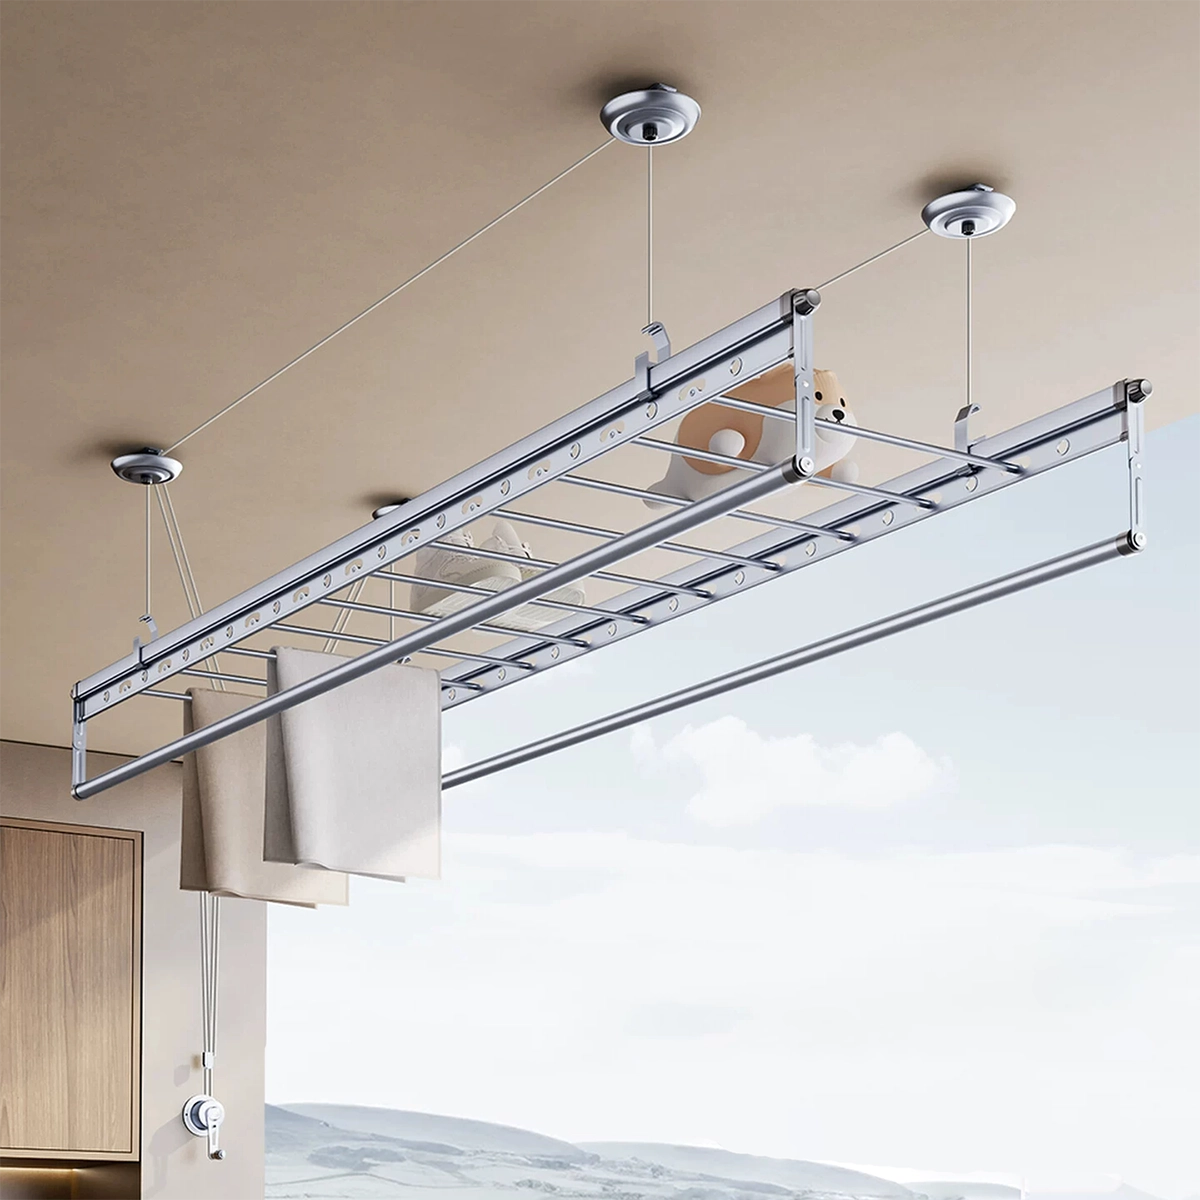

Official EaseRack product images show different views and are not a scale comparison. Use the measurements below to assess fit.
Which layout fits your space?
Measure the clear installation area along the rods and across them. Rod length, the gap between main rods and recommended installation width are three different measurements.
- Rod length runs along the hanging rail. Check the selected length, its fittings and nearby obstructions.
- Main-rod spacing describes the separation between the two main rods on the wider layouts.
- Installation width is the clear space required across the proposed position. It includes more than the gap between rods.
- Lowered working space includes the frame, garments below it and access for loading laundry.
For Multi-Rod and Square-Rod, the main-rod spacing is approximately 49 cm, while the recommended clear width is approximately 95 cm or more. Extra-Wide uses approximately 62 cm main-rod spacing and a recommended clear width of approximately 110 cm or more. The extra clear space is part of the installation assessment; it is not additional rail length.
For Single-Rod, the recommended clear balcony width is 50 cm or more. Check the selected rod length separately, together with the ceiling structure and surrounding clearance. Include the space taken by hangers, garments and the separate lower rail. A slim frame can fit overhead while long clothing still interferes with a door or worktop.
As a planning example, an unobstructed area approximately 100 cm across is worth checking against the Multi-Rod and Square-Rod width reference, but falls below the published Extra-Wide recommendation. That comparison only narrows the shortlist: structural support, fittings, rod length and loaded clearance still need confirmation.
Mark the proposed position, open nearby cupboards and windows, and test washer access with the airer lowered. If you need help choosing a rod length, see the clothes airer size guide.
Choose by laundry type
Clothes on hangers
Think about how many shirts, tops and other suitable garments you want to hang at the same time. Single-Rod places its hanger holes along one main rod. Square-Rod distributes more dedicated positions across a two-rod frame, making it relevant when you have the width for that arrangement.
A hole count is not a promise that every position will suit a bulky garment at once. Jackets and loose sleeves need more separation than small tops. Follow each garment’s care label and leave room for air to circulate between items.
Mixed everyday loads
When shirts, smaller items and towels dry together, the mix of hanging areas matters more than hole count alone. Use crossbars for suitable draped items or compatible accessories, and lower rails for larger pieces.
Plan for the busiest combination you regularly handle: everyday clothes plus weekend towels, or bedding while the previous load is still drying. List what needs hangers, crossbars and lower rails, then check that those areas remain accessible together. This is a planning exercise, not a tested load-capacity claim.
Sheets, duvet covers and larger items
Check the item’s dimensions, the rail length and the available drop below it. A sheet folded over a rail requires less drop, but its layers still need airflow. Hanging a large item more openly needs enough room to keep it away from floors, appliances and other laundry.
The lower rails provide additional hanging areas on all four models. Extra-Wide’s adjustable lower-rod spacing offers another way to arrange larger pieces, but suitability still depends on the bedding, the room and the total load. It does not establish a specific bed-size capacity or drying time.
Which layout features are worth paying more for?
Compare the feature you will use every week, rather than assuming a higher price means a better fit. Prices vary by length, configuration and market; check the linked product pages for the current offer. The differences below help you judge the value of one layout over another.
Multi-Rod versus Square-Rod
At the same 2.0 m length, Multi-Rod provides 24 hanger holes and 12 crossbars; Square-Rod provides 46 hanger holes and 11 crossbars. Both use approximately 49 cm main-rod spacing. Square-Rod therefore changes the distribution of hanging positions, rather than giving you a wider frame.
If you regularly use individual hangers, that distribution may be useful. If you use crossbars heavily for varied smaller laundry, the Multi-Rod arrangement may already meet your needs. Square-profile rods alone do not justify a claim of greater strength or faster drying.
Multi-Rod versus Extra-Wide
The 2.0 m versions have the same published hanger-hole and crossbar counts. Extra-Wide’s distinguishing features are its approximately 62 cm main-rod separation and multiple lower-rod spacing positions of approximately 11–36 cm, together with its larger recommended installation width.
Both models have lower rails that fold away. Folding is therefore not an Extra-Wide-only benefit. The reason to consider Extra-Wide is whether the wider layout and adjustable lower arrangement help you organise your larger laundry.
If your room cannot accommodate that width, or the adjustment would rarely be used, compare the more compact Multi-Rod layout. If you do need it, measure the expanded lower area with bedding in mind before choosing the Extra-Wide length.
Installation, lifting and load limits
All four models require secure fixing to a suitable load-bearing structure. Plasterboard or decorative ceiling panels alone cannot provide the structural mounting points. Ask a qualified installer to assess an uncertain ceiling and match the fixings to the supporting material.
Allow approximately 30 cm or more of suitable wall space for the manual winch, and a clear route for the wire rope around the corner guide. The complete frame raises and lowers together; the rods do not have independent lifting controls. Check that the lowered position is comfortable for loading and clear of nearby fixtures.
The published maximum lowering distance is approximately 1.8 m. Standard configurations are intended for ceilings up to approximately 3 m; higher installations need advice from EaseRack about the required configuration. The lowest frame height depends on the installation and should not be assumed from those two figures.
Single-Rod is rated up to 25 kg in total; Multi-Rod, Square-Rod and Extra-Wide are rated up to 50 kg in total. Every rating depends on correct installation, suitable structural fixings, the mounting surface and evenly distributed weight. The limit applies to the whole airer, not each rod, and does not describe how much laundry can hang with adequate spacing.
Use these models indoors or on suitable covered or sheltered balconies. Drying performance depends on airflow, humidity, temperature, fabric type, thickness and spacing. The UK government’s home ventilation guidance explains how moisture can become trapped without effective ventilation. Keep ventilation suitable for the room while laundry dries.
Frequently asked questions
Why is it called Single-Rod if it has a lower rail?
The name refers to the main perforated rod used for clothes on hangers. A separate lower drying rail provides another hanging area for suitable sheets, duvet covers and larger items.
Does a higher total load rating mean I can dry a whole wash at once?
Not necessarily. The weight limit and usable hanging space measure different things. A load may be within the rating but too crowded for adequate airflow, or contain items that need more rail length and vertical clearance. Plan around your laundry mix as well as its weight.
What should I send EaseRack if I am unsure which layout fits?
Provide the proposed installation area’s length and width, ceiling height, photographs of the ceiling and nearby fixtures, and the laundry you usually dry. Include the intended winch position and any doors, cupboards or appliances below. Those details help identify what still needs checking before ordering.
Compare sizes and shop the four layouts
The right manual ceiling clothes airer should fit both your room and your routine. Use the comparison above to identify the hanging arrangement you need, then check the selected product’s current sizes, drawings and installation requirements. For hanger-based loads, look closely at position counts; for mixed loads, consider crossbars and lower rails; for larger items, include the full hanging area below the rack.
Once the layout is suitable, choose the rod length that fits your available ceiling space. Allow room to load and use the airer, keep within its total rated load and check the supporting structure before ordering. The four product pages below provide the next step.
Single-Rod
Check the slim layout, separate lower rail and three rod lengths.
View Single-Rod details and sizesMulti-Rod
Review its mix of main rods, crossbars and foldable lower rails.
View Multi-Rod details and sizesSquare-Rod
Compare hanger positions and the layout at your chosen length.
View Square-Rod details and sizesExtra-Wide
Check the wider frame, lower-rod adjustment and installation drawings.
View Extra-Wide details and sizesFor help narrowing the options by your room and laundry routine, use Find Your EaseRack.

